How to copy a project from one computer to another?

Frequently Asked Questions about WYSIWYG Web Builder
Locked
User avatar
Pablo
 
Posts: 24133
Joined: Sun Mar 28, 2004 12:00 pm
Location: Europe
Contact:

How to copy a project from one computer to another?

Post by Pablo »

Here are a few tips when copying files from one computer to another:
1. Copy all files, including the images they are referring to.
Normally the website files are are stored at this location:
My Documents\WYSIWYG Web Builder

2. It's a good idea to enable the Automatically manage images and other files use by the project option in Tools|Options|Folders, so you automatically have a copy of all your images and other assets in your My Documents\WYSIWYG Web Builder\ProjectName folder. Where 'ProjectName' is the name of your project.

If you do not enable this option you will have to manually locate and copy the files used by your project!

Image

If you've selected this option all you need to do, is copy the complete
My Documents\WYSIWYG Web Builder folder to CD and it should load ok on another computer.

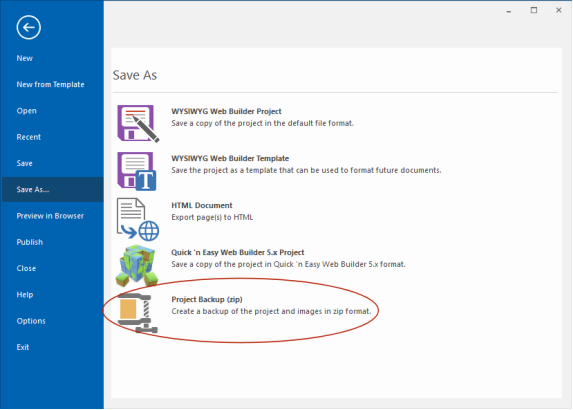
3. Another way to transfer a page is to save as template. A template is an archive of the page including all images and other objects. Then open the template on the other computer.

4. If your project uses special fonts that are not part of the standard Windows installation, you must also copy these to the other computer!
If a font is not available on the computer then it cannot be displayed...

Important note about extensions
If you are using extensions in your project, you should also copy the images used by these extensions from their original locations. Images used by older extensions are not saved in /images folder.

New in version 5.5 and higher
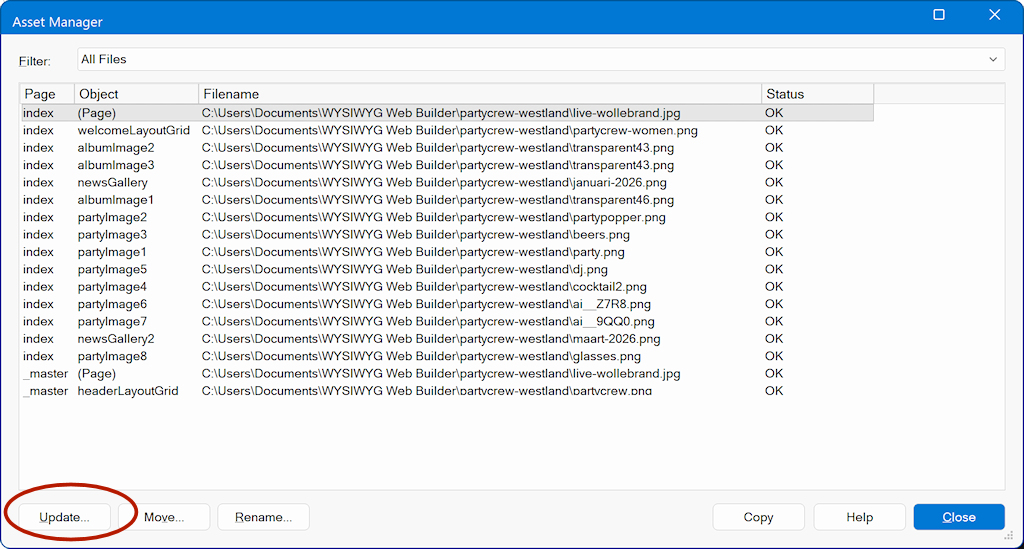
If the images (and other assets) are in a different location on the other computer then you can also use the Asset Manager (Menu->Tools->Asset Manager) to quickly update the path.
Last edited by Pablo on Sun Aug 15, 2010 7:30 am, edited 1 time in total.
User avatar
Pablo
 
Posts: 24133
Joined: Sun Mar 28, 2004 12:00 pm
Location: Europe
Contact:

Post by Pablo »

In WYSIWYG Web Builder, all user specific files (extensions, publish settings, templates etc) will also be saved in My Documents folder (My Documents\WYSIWYG Web Builder).
This make it much easier to copy all your Web Builder related files to another computer.
All you will have to do is copy the entire 'My Documents\WYSIWYG Web Builder' folder to the new computer.

Related FAQ topic:
viewtopic.php?t=30276
User avatar
Pablo
 
Posts: 24133
Joined: Sun Mar 28, 2004 12:00 pm
Location: Europe
Contact:

Re: How to copy a project from one computer to another?

Post by Pablo »

For advanced users:
It is also possible to transfer your workplace settings. These settings are stored in the Windows registry (regedit.exe)
HKEY_CURRENT_USER\Software\Pablo Software Solutions\WYSIWYG Web Builder 20

regedit allows you to export and import the settings.
User avatar
Pablo
 
Posts: 24133
Joined: Sun Mar 28, 2004 12:00 pm
Location: Europe
Contact:

Re: How to copy a project from one computer to another?

Post by Pablo »

It is also possible to save the entire project (and images) to a zip file, so you can easily move it to another computer.
To restore the project on another computer, simply unzip the file to the documents folder.

Image
User avatar
Pablo
 
Posts: 24133
Joined: Sun Mar 28, 2004 12:00 pm
Location: Europe
Contact:

Re: How to copy a project from one computer to another?

Post by Pablo »

If you open a project on a different computer and the images do not appear in the workspace, check the following:

Verify the project location
Make sure the project was copied to the same folder path as on the original computer. If the project relies on relative paths, changing the location can break image links.

Check folder access permissions
Ensure the software has permission to access the project folder. Firewall, antivirus, or anti-ransomware software may block access to certain directories.

Update image paths if needed
If the images are stored in a different location on the new computer, use the Asset Manager (in the Tools menu) to quickly update the file paths for all images at once.

Image

1. Select all files
2. Click 'Update'
3. Select the new location of the images
Locked